


Okay, I underestimated the ‘working blogger’ and I overestimated my capabilities as a human being, it seems I was born lazy.

Mum and I have been scrolling through range cookers from Argos, to replace our clumsy, tepid oven. Ours is a baker’s nightmare - it’s so inaccurate that even oven thermometers are confused by it. Sponge cakes come out with domed tops or they barely rise, and beating butter and sugar until the mixer's on the verge of combustion or a new bag of flour doesn’t always work. Most of the layered cakes on here were lucky escapes (face palm).
Homemade meringue has always made me feel a bit uneasy because it always comes out just a bit too eggy to stomach. But last week I had a thought, what if I add meringue on top of a cake, purposefully over-baking it by baking the meringue for as long as the dense chocolate cake that will be at the bottom? Perhaps the secret to abolishing the raw egg aftertaste was to over-bake it. It seems, my incompetent oven could finally be put to good use.
By the time the cake is such that a skewer inserted won't be all gooey from the mucus of an egg, you’re left with a crunchy and weightless meringue topping. There’s nothing marshmallow-y about this one, but if that’s what you’re after (and I’m not judging) top the cake with meringue 20 minutes in to the cake’s baking time.
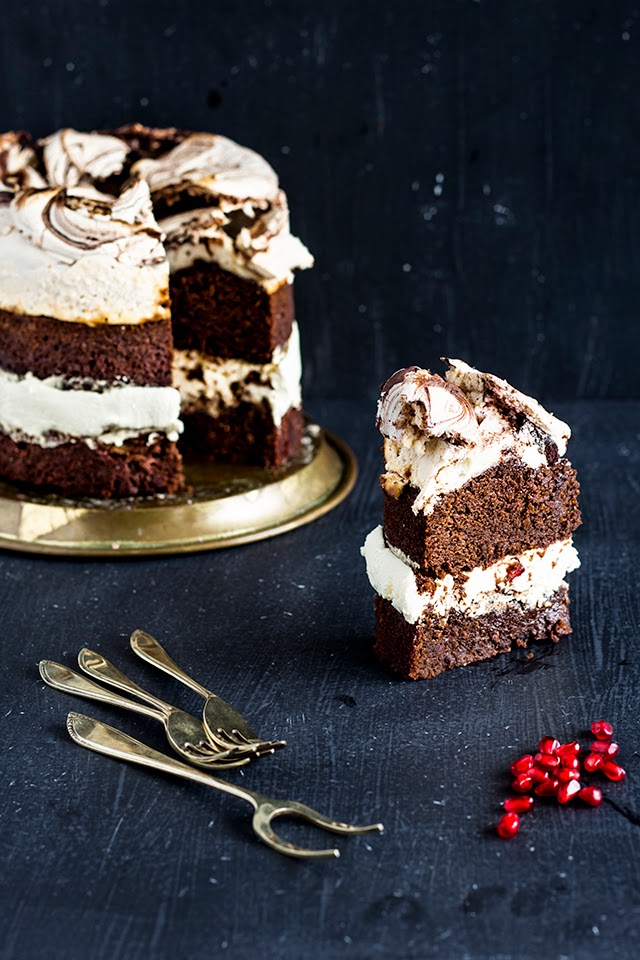


Chocolate Meringue Cake
Ingredients
Chocolate cake
Ingredients
Chocolate swirl meringue
- 4 egg whites
- 225g golden caster sugar
- 1 tsp cornflour
- 30g cocoa powder
- 200g dark chocolate
- 300g unsalted butter, softened
- 300g light brown sugar
- 4 eggs, lightly beaten
- 2 tsp coffee extract
- 150g plain flour
- 2 tsp baking powder
Cream filling
- 300ml cream
- Pinch of salt
- Cream of tarter
- A few pomegranate seeds
Lasts for three days if covered.
Method
- Preheat the oven to 180 C and line two 6” round cake tins with baking paper.
- Start by whisking the egg whites until froth appears, then slowly add in the sugar whilst whisking. Keep whisking until thick and glossy, then add the cornflour and mix to combine. Spoon two heaped tablespoons into a small bowl and sift over the cocoa, then whisk to combine – don’t worry if the mixture deflates. Set both bowls aside and make the cakes.
- Melt the chocolate over a pan of simmering water then set aside to cool. Cream the butter and sugar until pale. Whilst creaming, slowly add in the eggs. If the mixture curdles add a tablespoon of the flour, then add the rest of the eggs. Pour in the melted chocolate and coffee extract and stir through. Fold in the flour and baking powder and equally divide the mixture among the pans. Spoon the white meringue over the tops of each raw cake, using the spoon to roughly level the tops. Spoon small blobs of the chocolate meringue all over then take a cocktail stick and swirl both meringues together.
- Bake for 40/50 minutes, or until a skewer inserted in the middle is a little damp. The tops will crack in the middle as they bake and then collapse slightly when cooling. Whip the cream with the salt and tarter to soft peaks, then sandwich the cakes together with the cream and pomegranate seeds. Use a spatula to smooth the sides of the cake and serve.
I was contacted by Argos to talk ovens. I grew up with this brand, and we use them to buy many, many things (thank god for the store card).

Love Em


